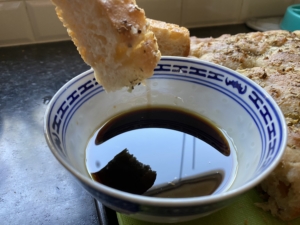
Sourdough Focaccia
Useful Accessories
Ingredients Needed
460 grams strong white bread flour
170 grams active starter
300 grams water (room temp)
1 tablespoon honey
1.5 teaspoons fine sea salt
Olive Oil
2.5 tablespoons melted butter
2 cloves garlic
1 teaspoon each dried Oregano and Rosemary
Sourdough Focaccia
Time Needed: 2 days
Sourdough
Focaccia
Sourdough Focaccia
The dough for Focaccia is very wet. Very very wet. Don’t be surprised if you have to almost pour it out of the bowl and onto the baking tray. Just make sure your starter is really active before you begin. (Begining a starter can be found here, and maintaining a starter can be found here.)
Step 1
Make sure before you start that your starter is at it’s active peak. If you store your starter in the fridge, feed it up for a couple of days. You’ll need 170 grams for this recipe.
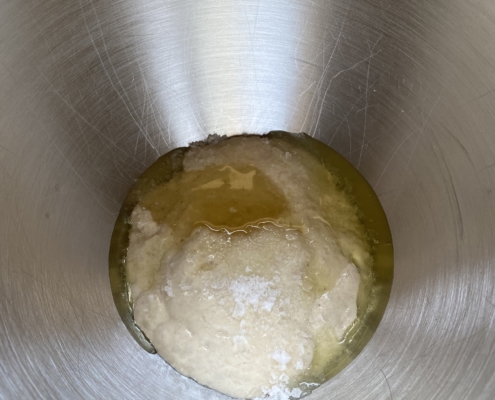
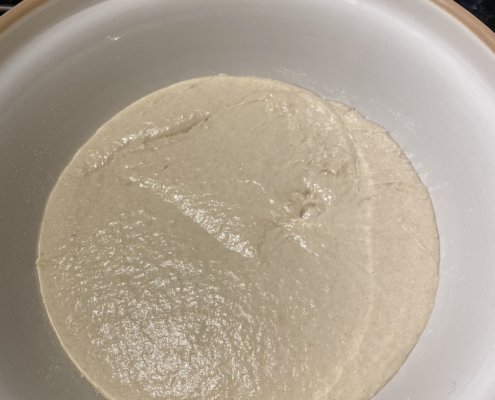
Mix the starter with the water, honey, salt, and 1/2 tablespoon olive oil in a large bowl, or the bowl of a kitchen mixer.
Step 2
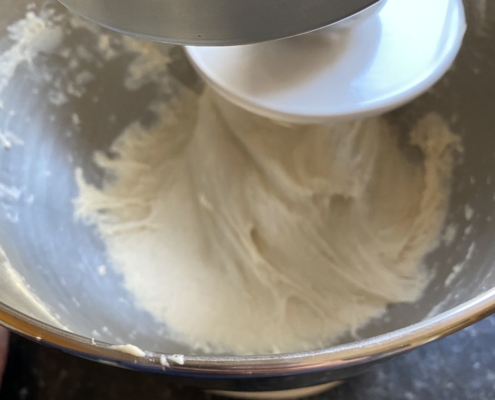
Add flour, and incorporate using hands. Once you no longer see bits of dry flour, you can either add it to a stand mixer with the dough hook, and mix on low (speed 2) for 10 minutes, until the dough starts to pull away from the sides and hold itself. This is my preferred method.
Or you can knead by hand for 10 minutes, until you feel the dough tighten and acquire resistance, pulling away from the sides of the bowl as you work with it. Don’t tip this on to the kitchen worktop and try and work the dough, you’ll regret it.
This dough is extremely wet and sticky.
Step 3
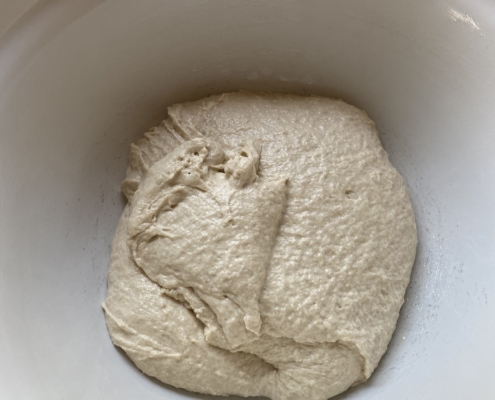
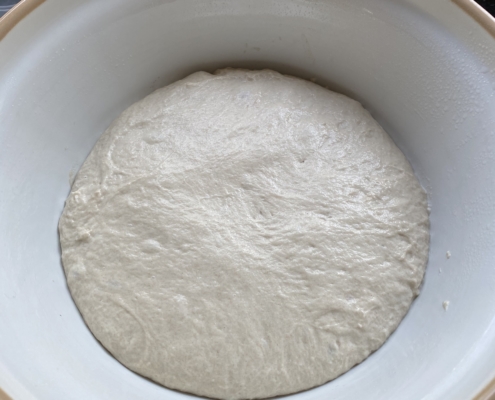
Now it’s time to rest! Known as bulk fermentation, cover the bowl with a very damp cloth or cling film and set in a warmish place ideally around 20 to 25 degrees. I tend to use the oven with just the internal light switched on. Let it rise for about 5-6 hours, until dough doubles in size and is puffy. You should see some small bubbles on the surface. Now stretch and fold four “corners” of the dough, basically on top of itself.
Cover again and let rest at room temperature until top of dough is puffy, glossy, and has some bubbles. It will have about doubled from original size of dough. It should have all of these things before moving on to the next step.
Alternatively you can now put it in the refrigerator overnight for a slow final rise.
Step 4
At this point, brush 13×9 inch non-stick deep baking sheet or cake pan with 1 tablespoon olive oil, distributing all the way to the sides of pan.
Step 5
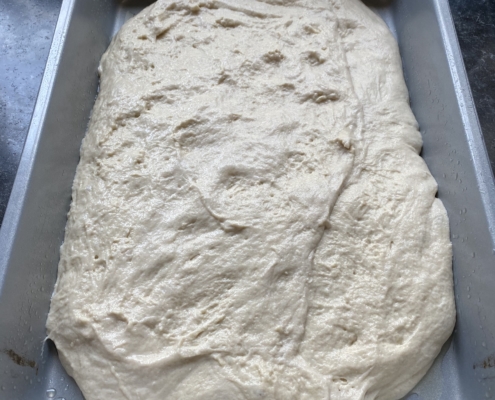
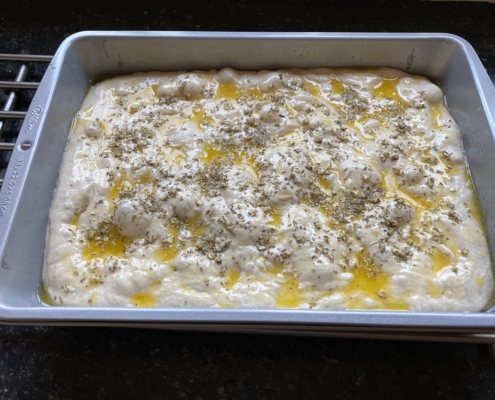
Using lightly oiled hands, gently scrape dough out onto the baking sheet. It will look like a big blob, and that’s okay!
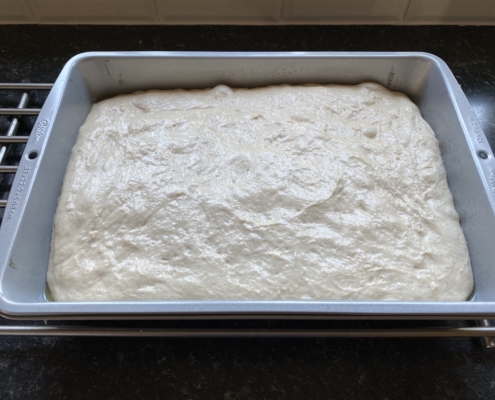
Using your hands pull the edges out to gently stretch them. The dough should be about 1 1/2 inches to 2 inches tall. Don’t stretch any further than that. Let rise in a warm spot, covered with another sheet pan that’s upside down (so it has room to rise) for 2-3 hours hours until it is puffy and very bubbly. You should see lots of bubbles.
Step 6
And now for baking.
Preheat oven to 200 degrees C. I can’t stress how helpful it is to use an oven thermometer at this point instead of the built-in reading your oven gives you. Having an accurate thermometer ensures the same results every time, and with something like baking where temperature is so crucial, you want to be able to trust it.
Step 7
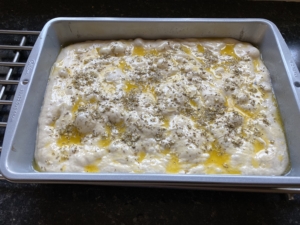
Press your fingertips into the risen dough. Your fingertips should go all the way down through the dough and hit the bottom of the pan. You might want to make sure your hands and fingers are nicely oiled with olive oil.
Drizzle melted butter mixture over the dough and lightly brush to give a complete covering.
Sprinkle the buttered dough with the garlic, herbs and sea salt to taste.
Step 8
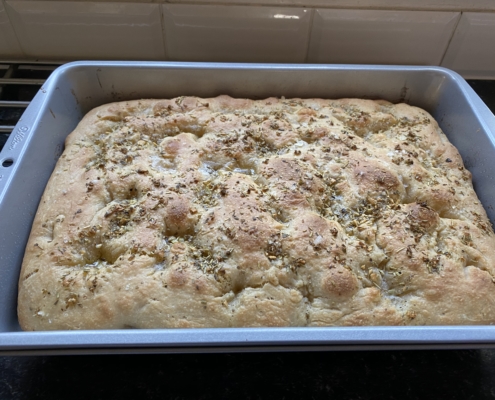
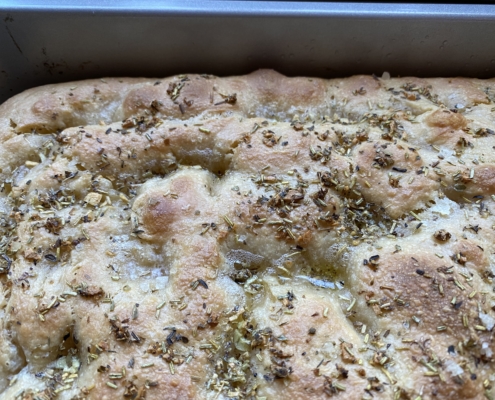
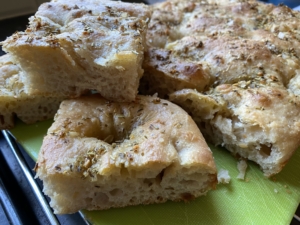
Put the pan in the oven on the middle rack and bake for 15 minutes. Turn the oven temperature down to 180 degrees C and bake for another 10ish minutes, until the crust is golden brown and bounces back slightly when you press down on it. Let cool for 15 minutes and eat.
Sourdough Focaccia
Flour salt and water
Sourdough Bread Artisan Bread Bakery Blog
Made with the simple basic ingredients of flour, water and salt; there are three distinct stages to making a sourdough loaf (1) The Starter (2) The Ferment and (3) The Dough itself.
www.sourdoughbread.co.uk
A little bit about this site
I want to offer and share information, tips, techniques, recipes and tools for the home baker, with an above average interest in the art of sourdough bread making.


